Photo to Pixel Art: Block Size, Colors, and Grid Export
Turn a photo into pixel art with exact controls and three settings examples. Compare block size and colors, fix lost detail, and download the PNG.
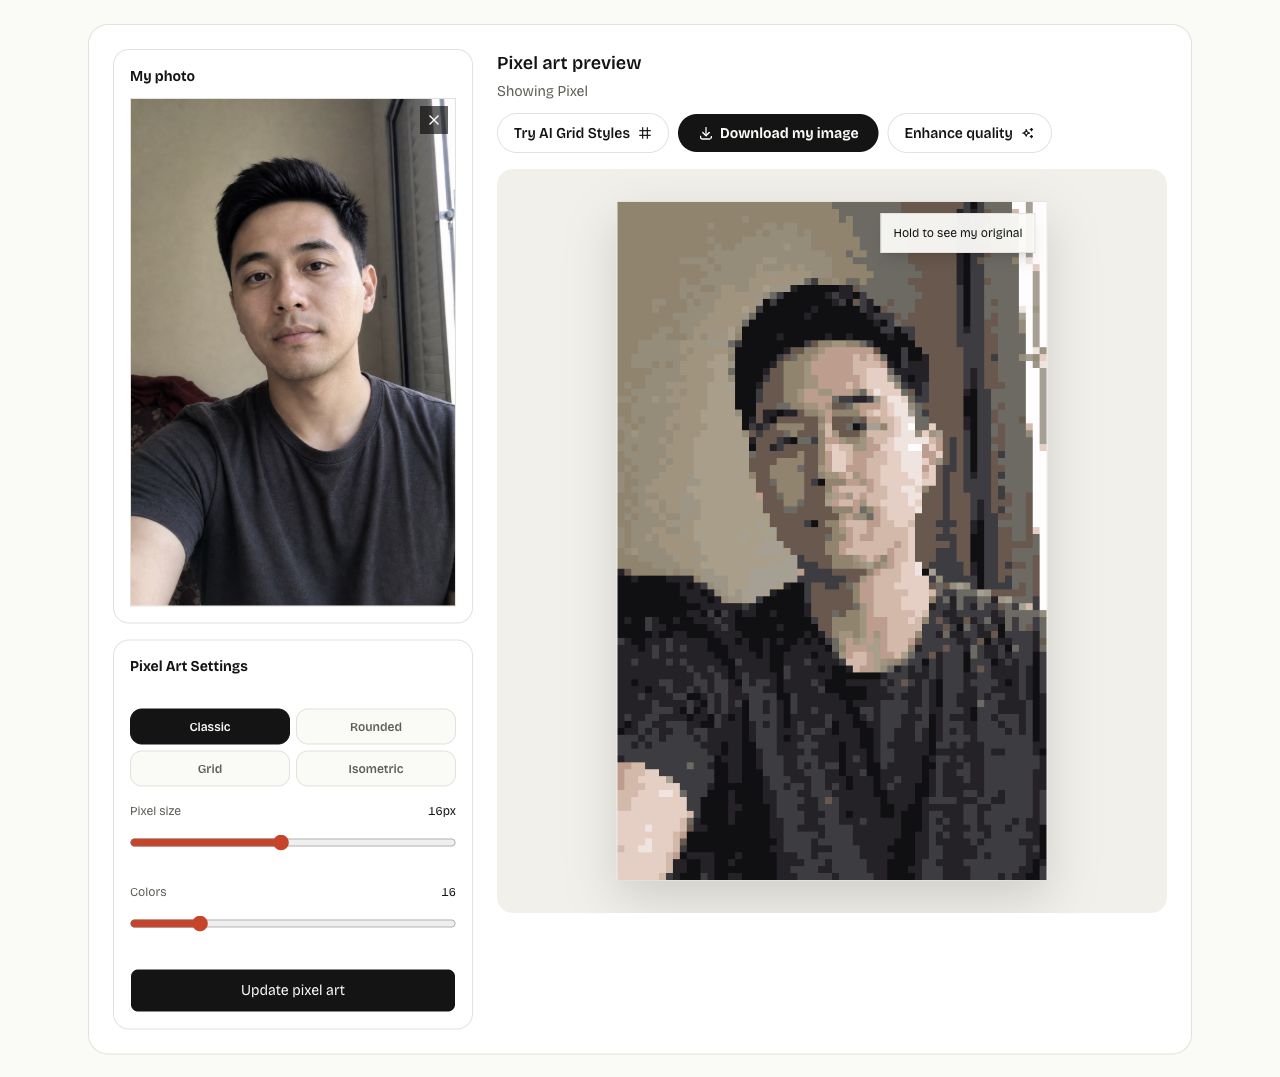
To turn a photo into pixel art, open Photo to Pixel Art, upload an image, choose Classic, set Pixel size and Colors, then click Create pixel art. Use Update pixel art after changing a setting and Download my image to save the PNG. The conversion runs in your browser without an account or watermark.
Pixel size controls how much spatial detail survives. Colors controls palette reduction. Comparing them separately makes it easier to keep the subject recognizable.
Choose a photo with a clear silhouette
A portrait, pet, or single object against a simple background is a useful starting point. Small text, patterned clothing, and distant faces can disappear when the photo is reduced to blocks. Crop unnecessary background in your photo editor before uploading.
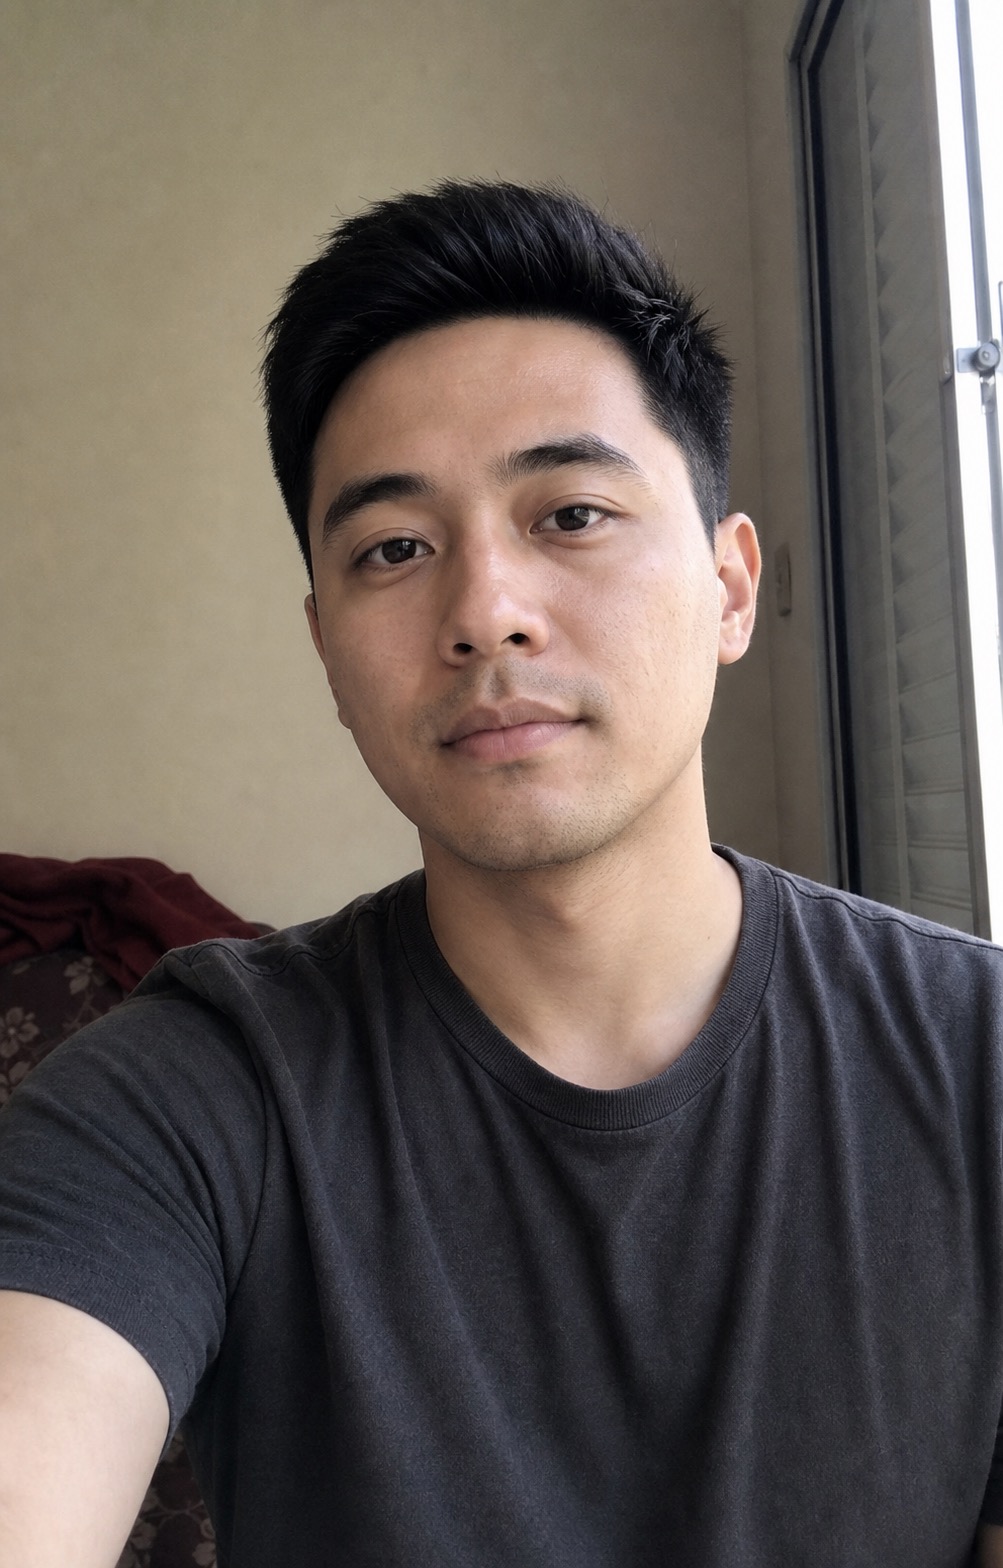
Use a JPG, PNG, or WebP. Keep the original so you can check which features disappear during conversion. The portrait below gives you a clear face and a mostly plain background to compare.
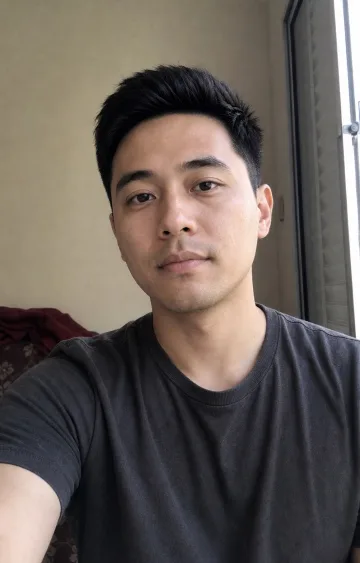
Download the 1003×1568 px source portrait to follow the examples. Use this full image rather than saving the smaller preview above: the same block size produces a different pattern from a smaller input.
Create your first photo-to-pixel-art result
- Open Photo to Pixel Art, click Choose my photo, and select your file.
- Under Pixel Art Settings, choose Classic. Keep this style for the first comparison so cell outlines or shading do not change at the same time.
- Set Pixel size to 8 px and Colors to 16. These are the first example's settings; the tool initially starts at 10 px and 16 colors.
- Click Create pixel art. Check the face, silhouette, and background in Pixel art preview.
- Press and hold Hold to see my original to inspect the source, then release it to return to the result.
- Click Download my image to save the PNG. When trying another setting, click Update pixel art before evaluating or downloading the revised image.
The screenshot shows example B below: Classic style, 16 px blocks, and 16 colors. For your first result in step 3, use 8 px blocks instead.
Changing a slider does not recalculate an existing result. If the preview appears unchanged, check whether you have clicked Update pixel art.
Compare block size and colors one at a time
Use the same source and Classic style for all three comparisons. First change the block size while holding the colors at 16. Then keep the larger blocks and reduce the colors to 8.
| Example | Pixel size | Colors | Downloaded PNG | What to inspect |
|---|---|---|---|---|
| A | 8 px | 16 | 1000×1568 px | Whether smaller features remain readable |
| B | 16 px | 16 | 992×1568 px | How larger blocks simplify the same features |
| C | 16 px | 8 | 992×1568 px | Which tones merge when the palette is reduced |
These are the actual download dimensions for the 1003×1568 px source above. The width is rounded down to a whole number of blocks; changing the number of colors does not change the dimensions.
A: 8 px blocks with 16 colors
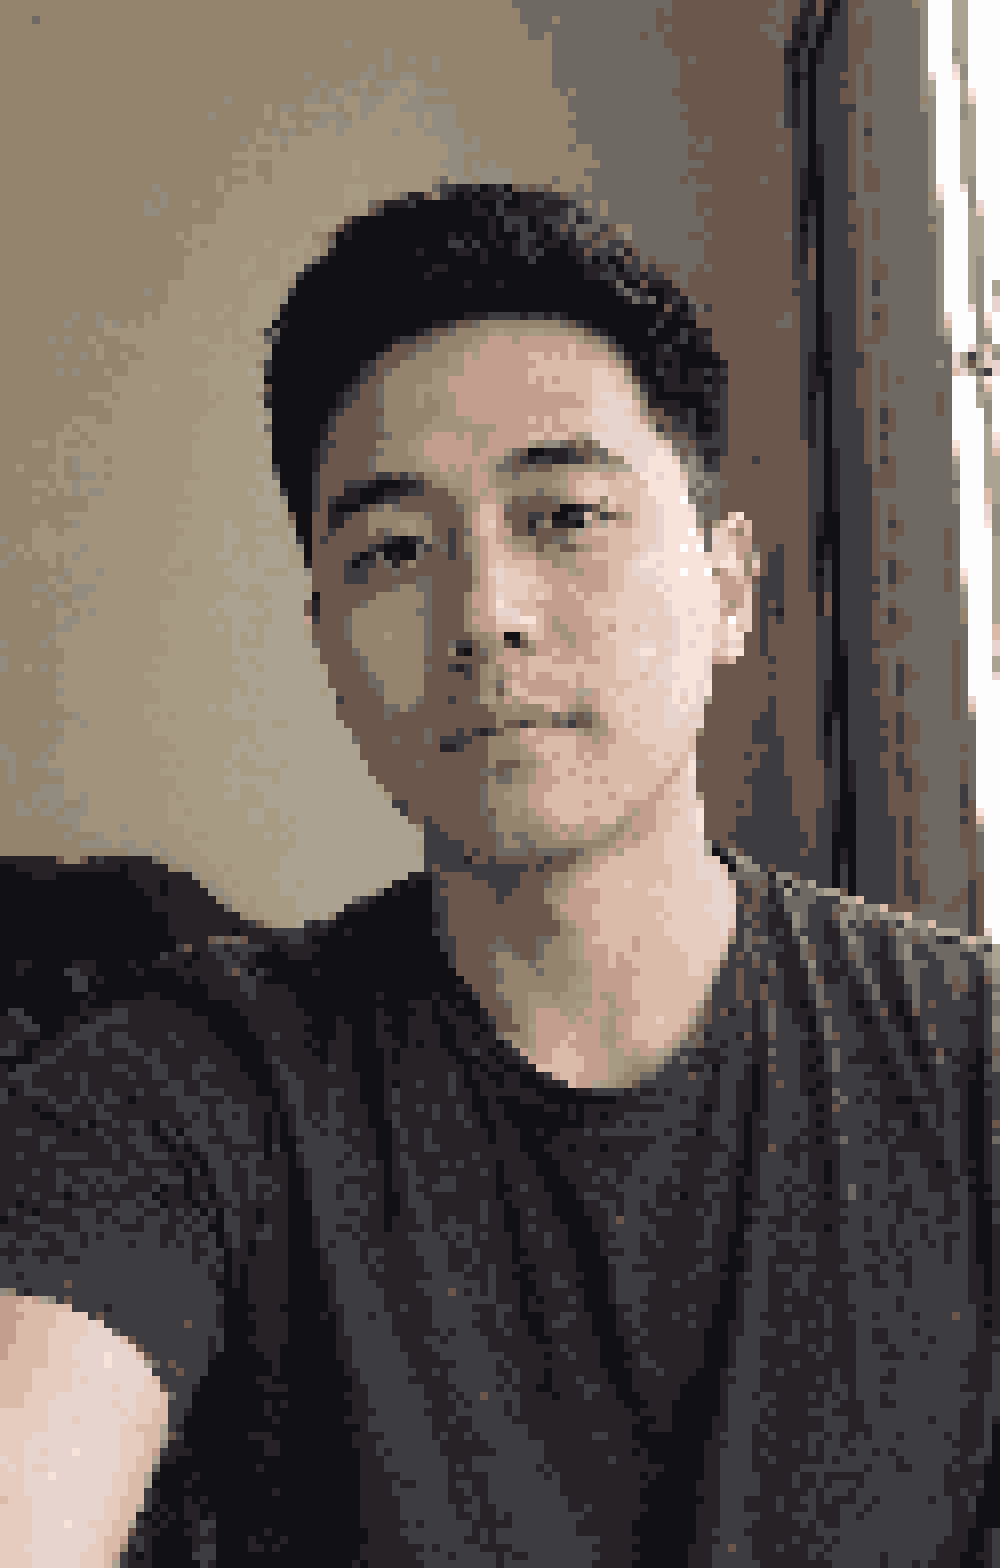
Start here when the eyes, mouth, or outline need more detail. Smaller blocks retain more spatial information, including background clutter.
B: 16 px blocks with 16 colors
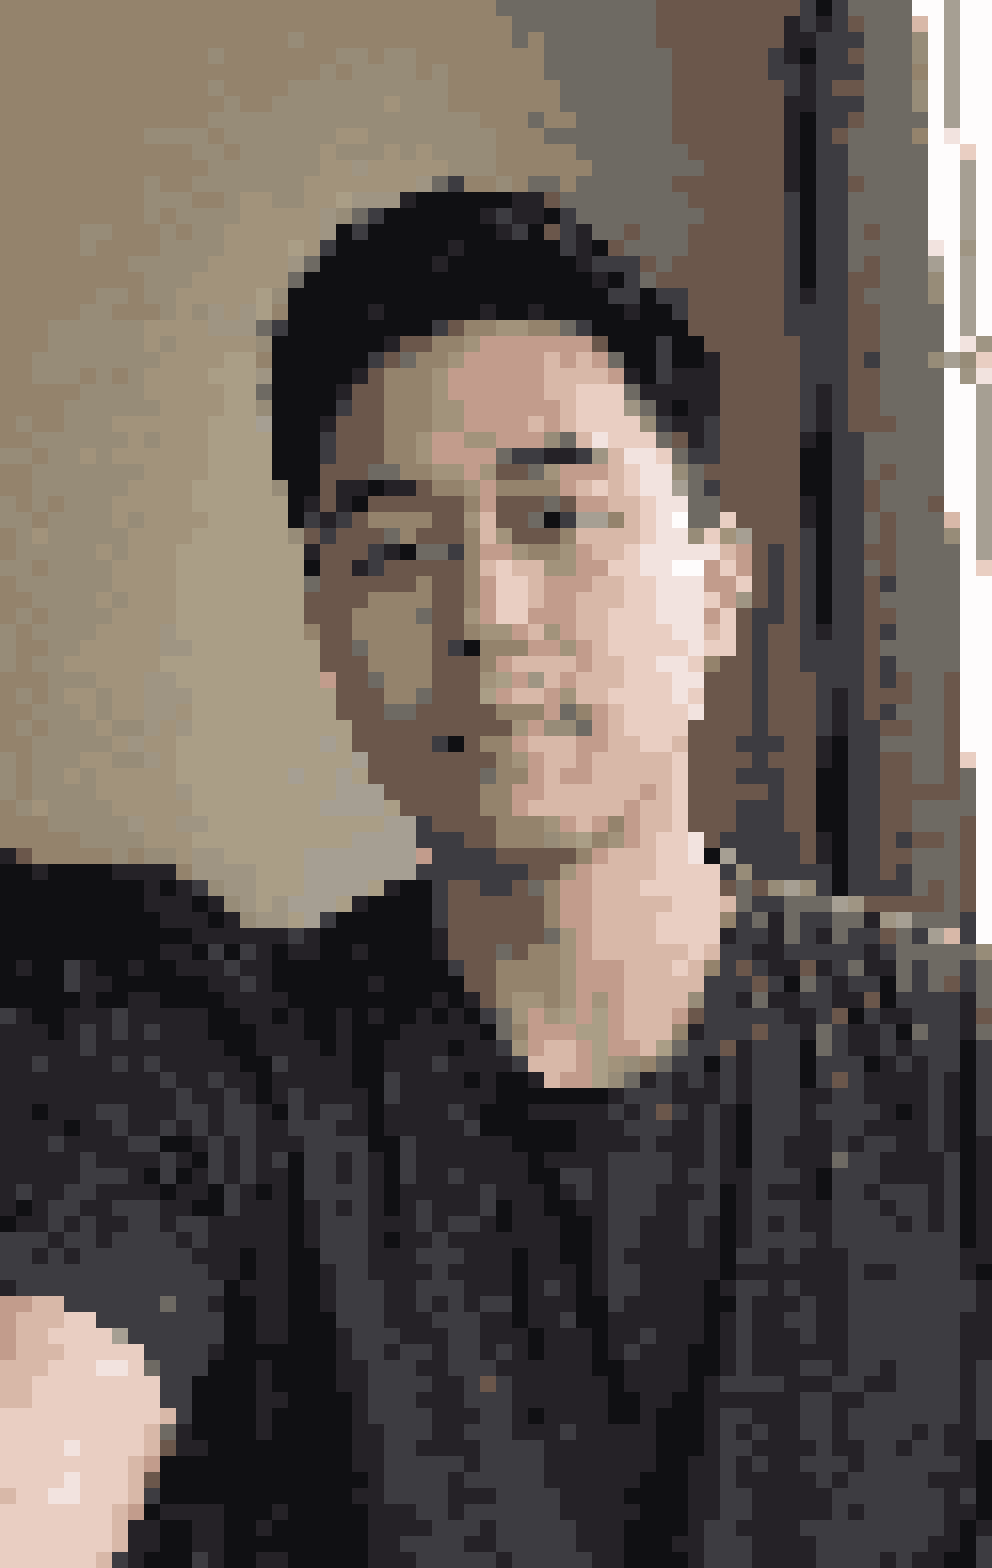
Only Pixel size changes from A to B. Larger blocks make the pattern coarser. Check the face at the size you intend to display it; a result that reads well as a large preview may lose its expression in a small avatar.
C: 16 px blocks with 8 colors
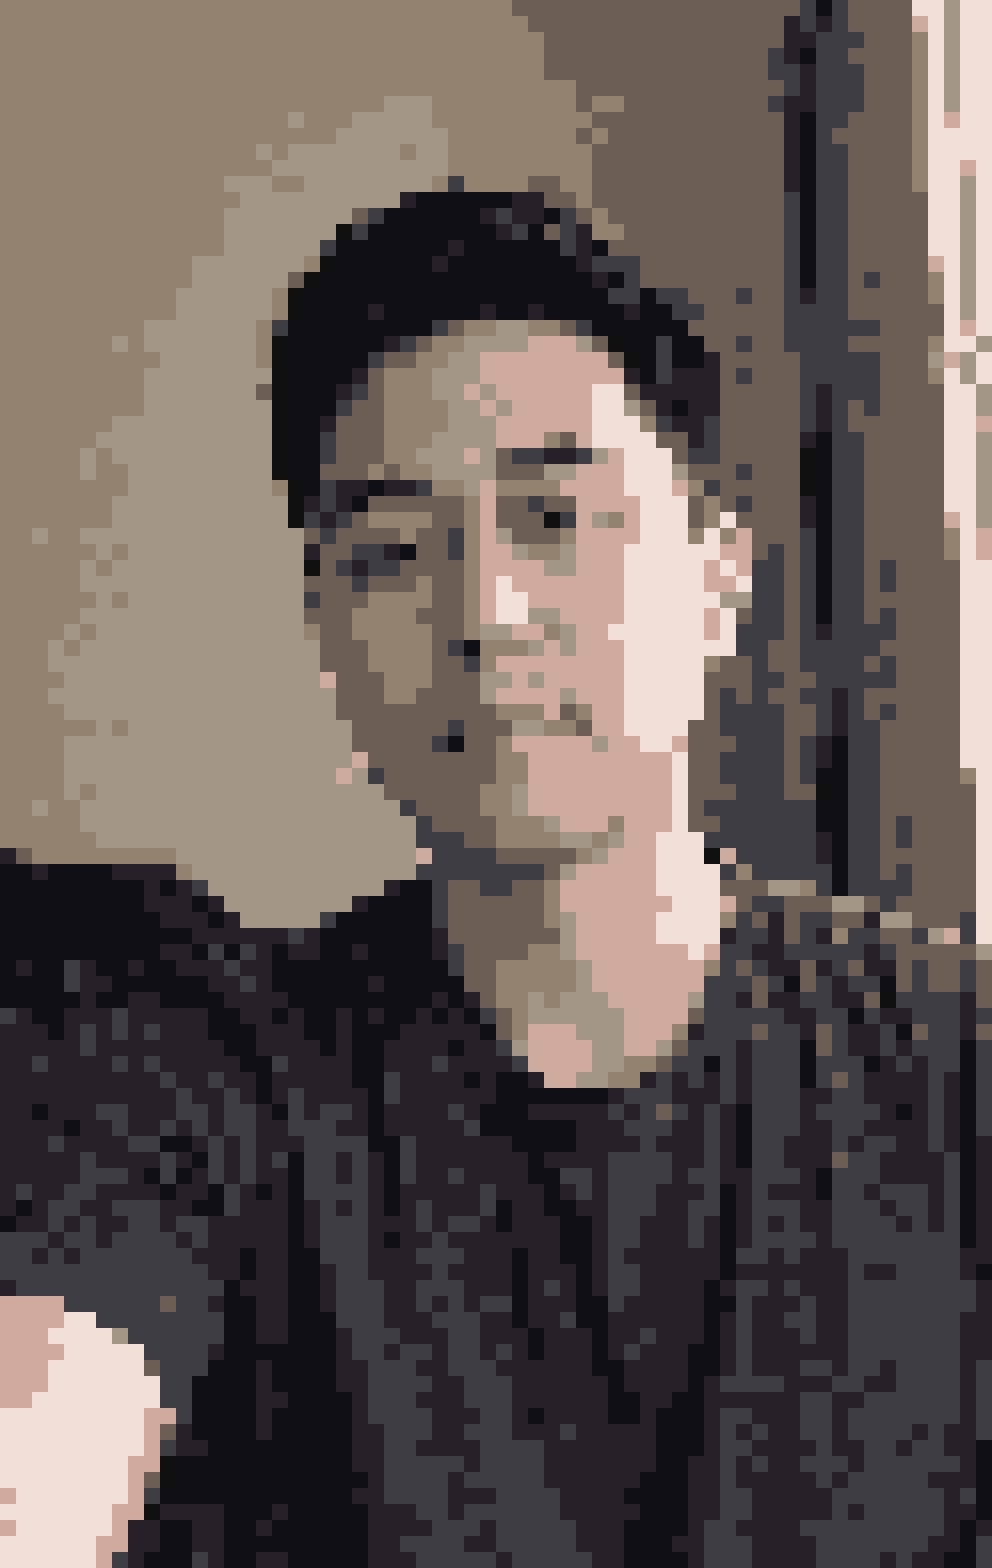
Only Colors changes from B to C. Fewer colors can simplify the pattern, but they can also merge neighboring areas. If an important feature disappears, return to 16 colors before changing the block size again.
The controls support 4–30 px blocks and 4–64 colors, with color settings in steps of four. The tool derives the palette from your photo; a selected count does not guarantee that every color will appear in the final image.
Choose a style after the basic pattern works
| Style | What changes |
|---|---|
| Classic | Square blocks without cell outlines |
| Rounded | Rounded blocks with gaps between them |
| Grid | Square blocks with visible cell outlines |
| Isometric | Blocks with darker shading along their lower edge |
Image to Pixel Art Grid opens the same pixel-art controls with Grid selected. It is useful when visible cells help you follow a pattern. After switching styles, click Update pixel art to render the change.
Fix a result that is hard to read
| Problem | Try this |
|---|---|
| The face becomes a few unrecognizable blocks | Reduce Pixel size, or crop closer before uploading |
| The subject blends into the background | Choose a source with clearer contrast; extra colors cannot create an outline that was missing |
| The background distracts from the subject | Crop it out, or compare a lower Colors setting with the same block size |
| Skin tones or shadows merge too much | Increase Colors while keeping Pixel size unchanged |
| The sliders seem to have no effect | Click Update pixel art; the previous result remains visible until you regenerate it |
Downloads and common questions
Does Pixel size set the downloaded image width?
No. It sets the block size inside the processed photo. The input is first limited to 2200 pixels on its longest edge. The converter calculates whole blocks, then draws them back at the selected block size.
For example, a processed 600×400 px image with 20 px blocks has 30 columns × 20 rows of blocks. Its downloaded PNG is still 600×400 px, not 30×20. Dimensions that do not divide evenly are rounded down to whole blocks.
Can I export a 32×32 game sprite?
The tool does not offer an exact sprite-size export. Save the PNG, then use a separate editor to set the required dimensions and inspect transparency. A pixel-art effect does not automatically make an image ready for a game engine.
Is this an 8-bit image or a fixed console palette?
“8-bit” describes the visual style here. The converter samples colors from your image; it does not supply a named console palette or guarantee a particular indexed-color file format.
Can I use the grid for beads, cross-stitch, or another craft?
A visible grid can be a starting reference. It does not include brand-specific color matches, numbered symbols, material counts, or a separate color legend. Count the cells and map the colors before buying materials.
For your next photo-to-pixel-art result, choose the smallest set of changes that solves the visible problem: block size for missing shapes, colors for merged tones, and a different crop when the subject is too small.