AI Photo Grid Styles: Six Templates Compared, With Costs and Upload Tips
Compare six AI Grid Maker styles, from a 9-frame photobook to a 4x4 black-and-white identity board. See each layout, what it suits, which upload works, what it costs, and how to check the result.
If you have one portrait or product photo and want to explore new poses, expressions, or views in a grid, choose an AI style by the result you want to make. The six examples below show what to look for before spending credits.
AI Grid Maker generates one image containing several panels from your photo. It does not give you a folder of separate photographs. The poses, expressions, and product views are generated, so they can differ from the original.
If you already have the photos, or need to show a real person, product, or event accurately, use Photo Grid Collage. It arranges your existing photos for free, with no account; the photos stay in your browser.
What each style costs
Each of the six styles below is listed at 2 credits per result (October 2026). New accounts get 4 free credits: enough for two results at that cost. The Mini pack lists 6 credits for $1.90, enough for three results at 2 credits each. Check the selected style and current credit packs before generating or buying. Credit packs are a one-time purchase; purchased credits do not expire.
One result uses credits even if you decide not to publish it. Choose one style to try, then inspect that result before running another. AI styles need an account, and the selected photo is uploaded for processing.
The six styles at a glance
| Style | Default layout and frame | Start here for | Photo to choose |
|---|---|---|---|
| 9-frame creator photobook | 3 × 3, vertical 9:16 | Profile refresh, Reels or story cover, mini lookbook | Clear portrait, face and outfit visible |
| Playful campaign collage | 3 × 3, square 1:1 | Fashion drop, merch, creator product post | Half- or full-body portrait, or a product with a clear outline |
| Product storyboard | 3 × 3, square 1:1 | A product campaign concept | One large, clearly visible product |
| BW studio identity | 4 × 4, square 1:1 | Comparing portrait expressions and crops | Unfiltered portrait, neutral clothing |
| Color emotion cards | 3 × 3, portrait 4:5 | Expressive post, podcast or thumbnail art | Face large in frame, simple light |
| Ripped-paper portrait | 2 × 2, square 1:1 | Bold profile image, release teaser | One natural portrait, face not covered |
The frame is the shape of the whole image, not each panel. Choose the shape for the space you need to fill, then check the posting preview for cropping. A tall 9:16 grid will lose content if you crop it to a square.
9-frame creator photobook
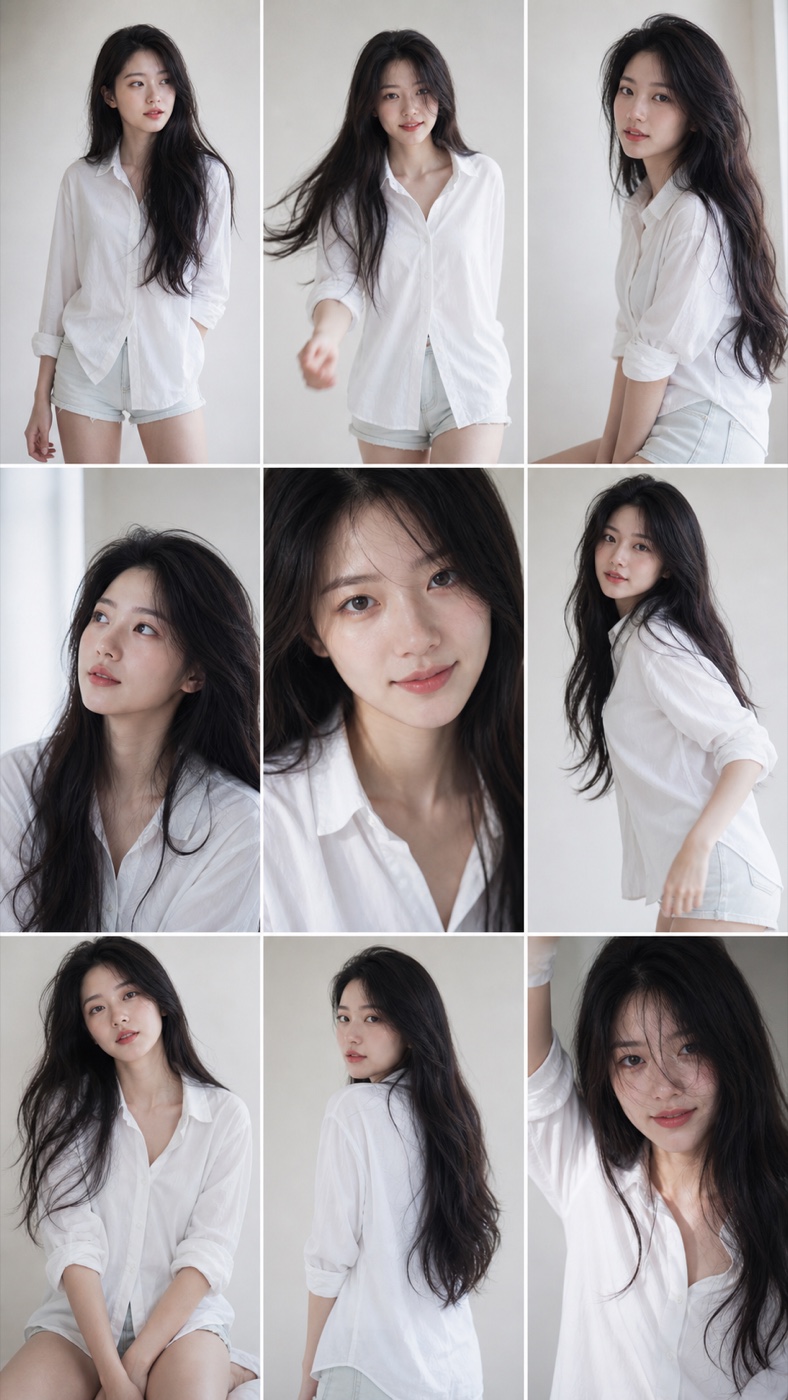
This template asks for nine poses and expressions from one portrait in a tall 9:16 frame, including close-ups, seated poses, and over-the-shoulder views. Choose it when you want a vertical portrait board. Check that the face still looks like the reference across all nine panels.
Choose a photo with one clear face and visible features. Group photos, sunglasses, heavy filters, and screenshots give you less useful detail to compare with the result. Try this style.
Playful campaign collage
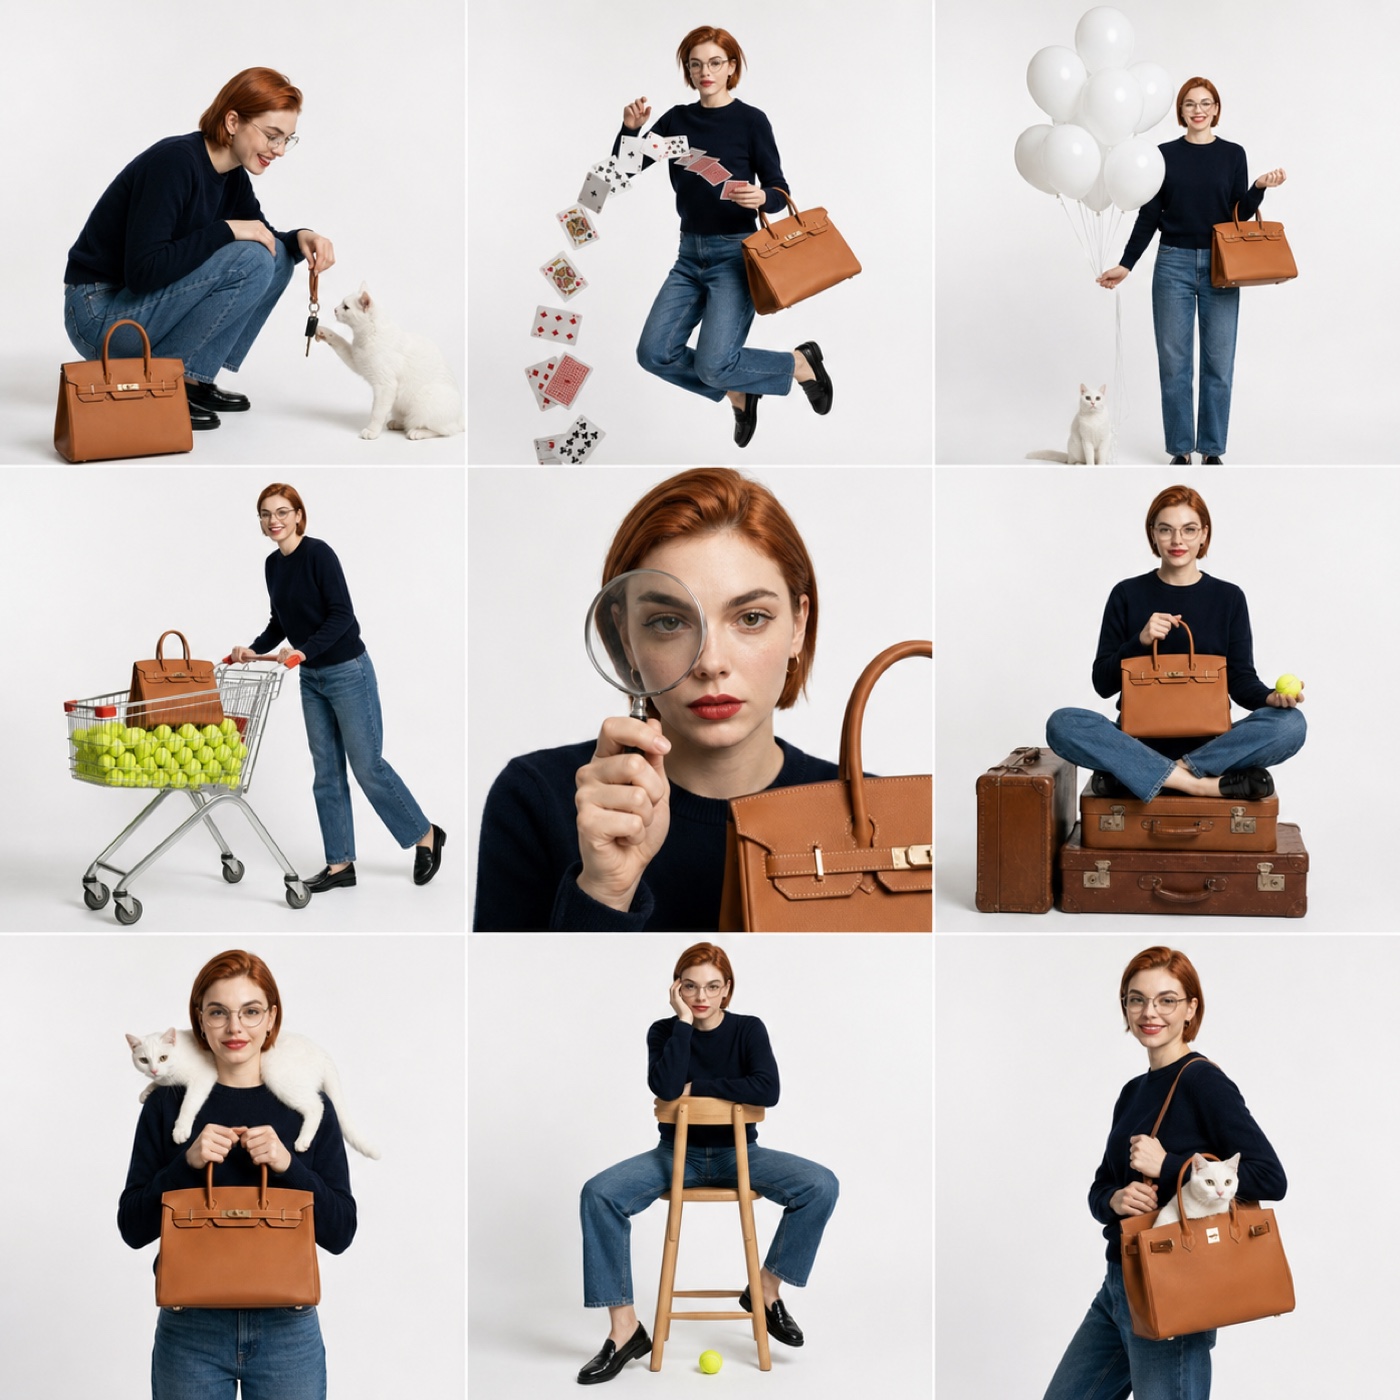
This template asks for a square 3 × 3 studio board with a repeating subject and prop. It is designed to use a product from your photo when one is visible; otherwise it may invent a fashion accessory. Choose it for a campaign concept where imagined poses and props are useful.
Use a half-body or full-body photo so the reference includes the clothing and body you want the result to draw from. Check the repeated prop as carefully as the face. Try this style.
Product storyboard
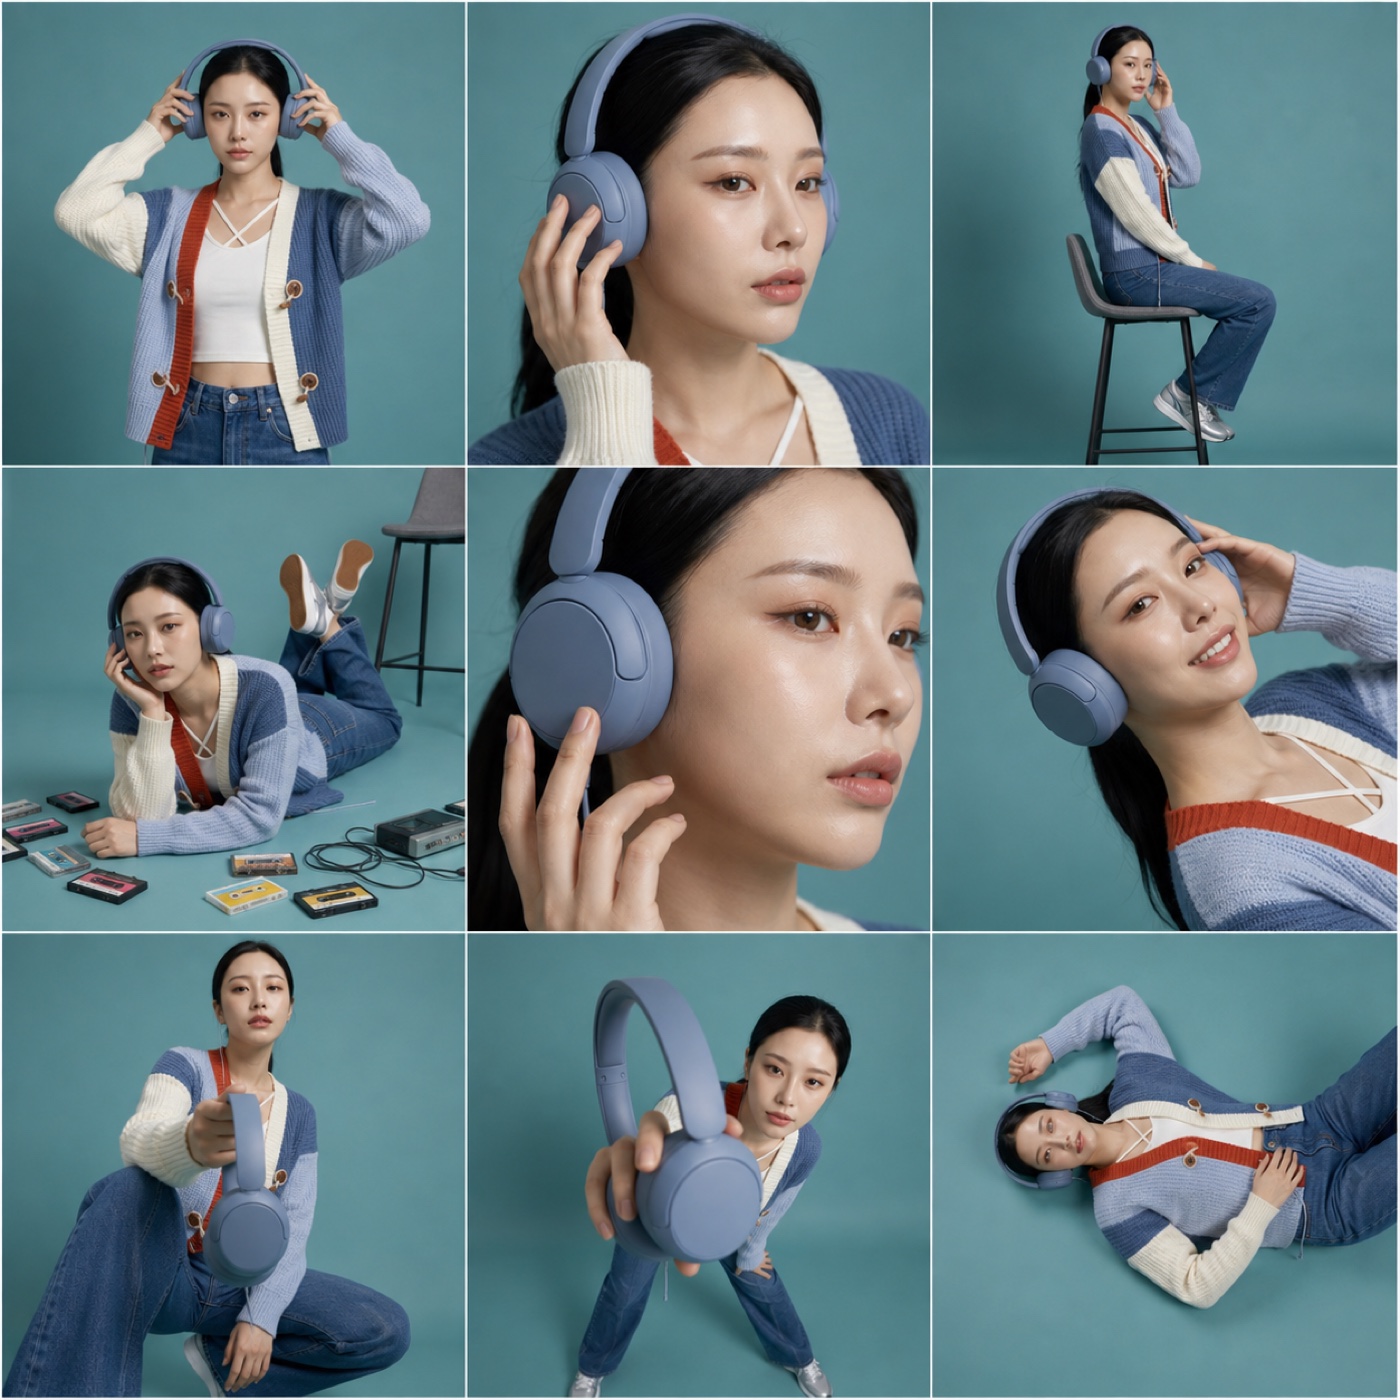
This template asks for a square 3 × 3 product story with hero shots, close-ups, and lifestyle views. Use it to explore a campaign idea. You are choosing a generated composition, not supplying or controlling nine separate product photographs.
Generated views can change a product's shape, logo, or details. Use the result as a concept and compare it with the real product; for an exact record, use real product photos in a collage. Try this style.
BW studio identity
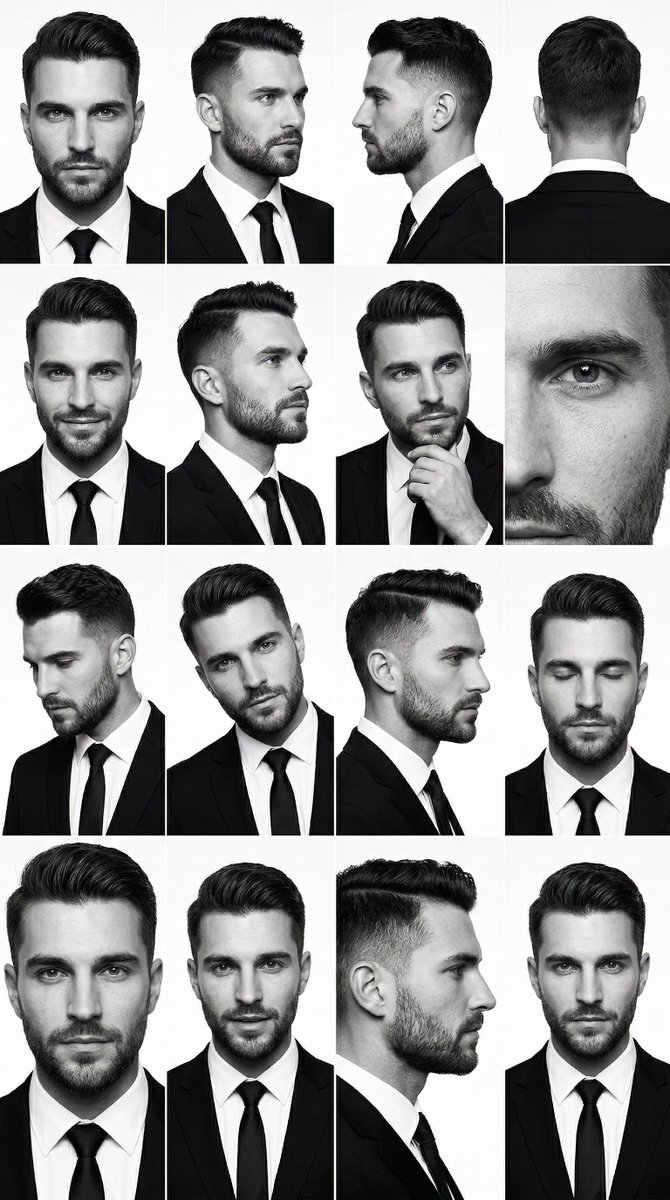
A 4 × 4 black-and-white contact sheet explores sixteen crops and expressions. Choose it to compare portrait ideas in one image.
Sixteen panels share the output resolution, so a cropped face contains much less detail than the whole image. Inspect the crop at the size you need before choosing it for a profile picture. Try this style.
Color emotion cards
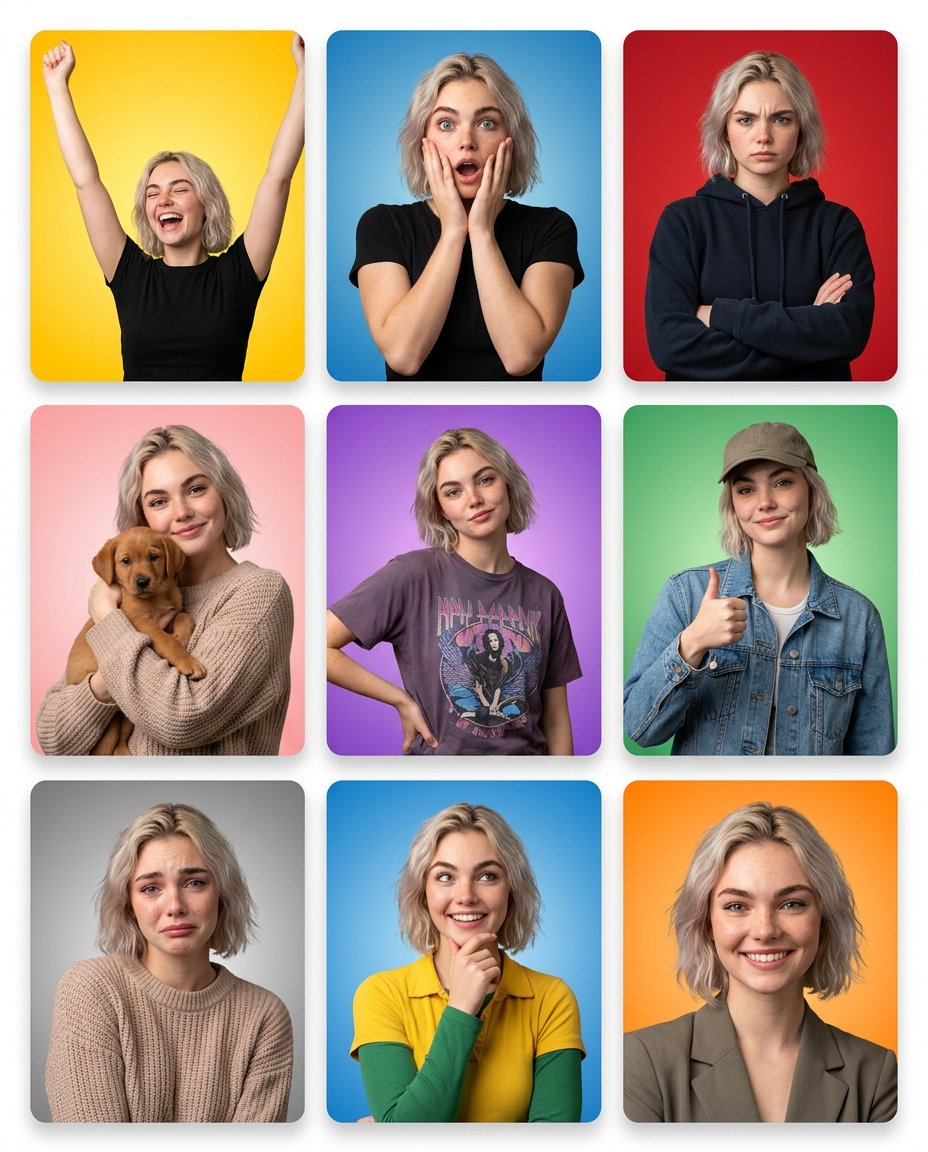
This style aims for nine bright expression cards in a 4:5 frame. Choose it when the expressions and colored backgrounds are the main point of the image. Start with a clearly visible face.
The example uses a strong palette. If you want a restrained portrait, choose a quieter style before generating; removing extra direction does not guarantee muted colors. Try this style.
Ripped-paper portrait
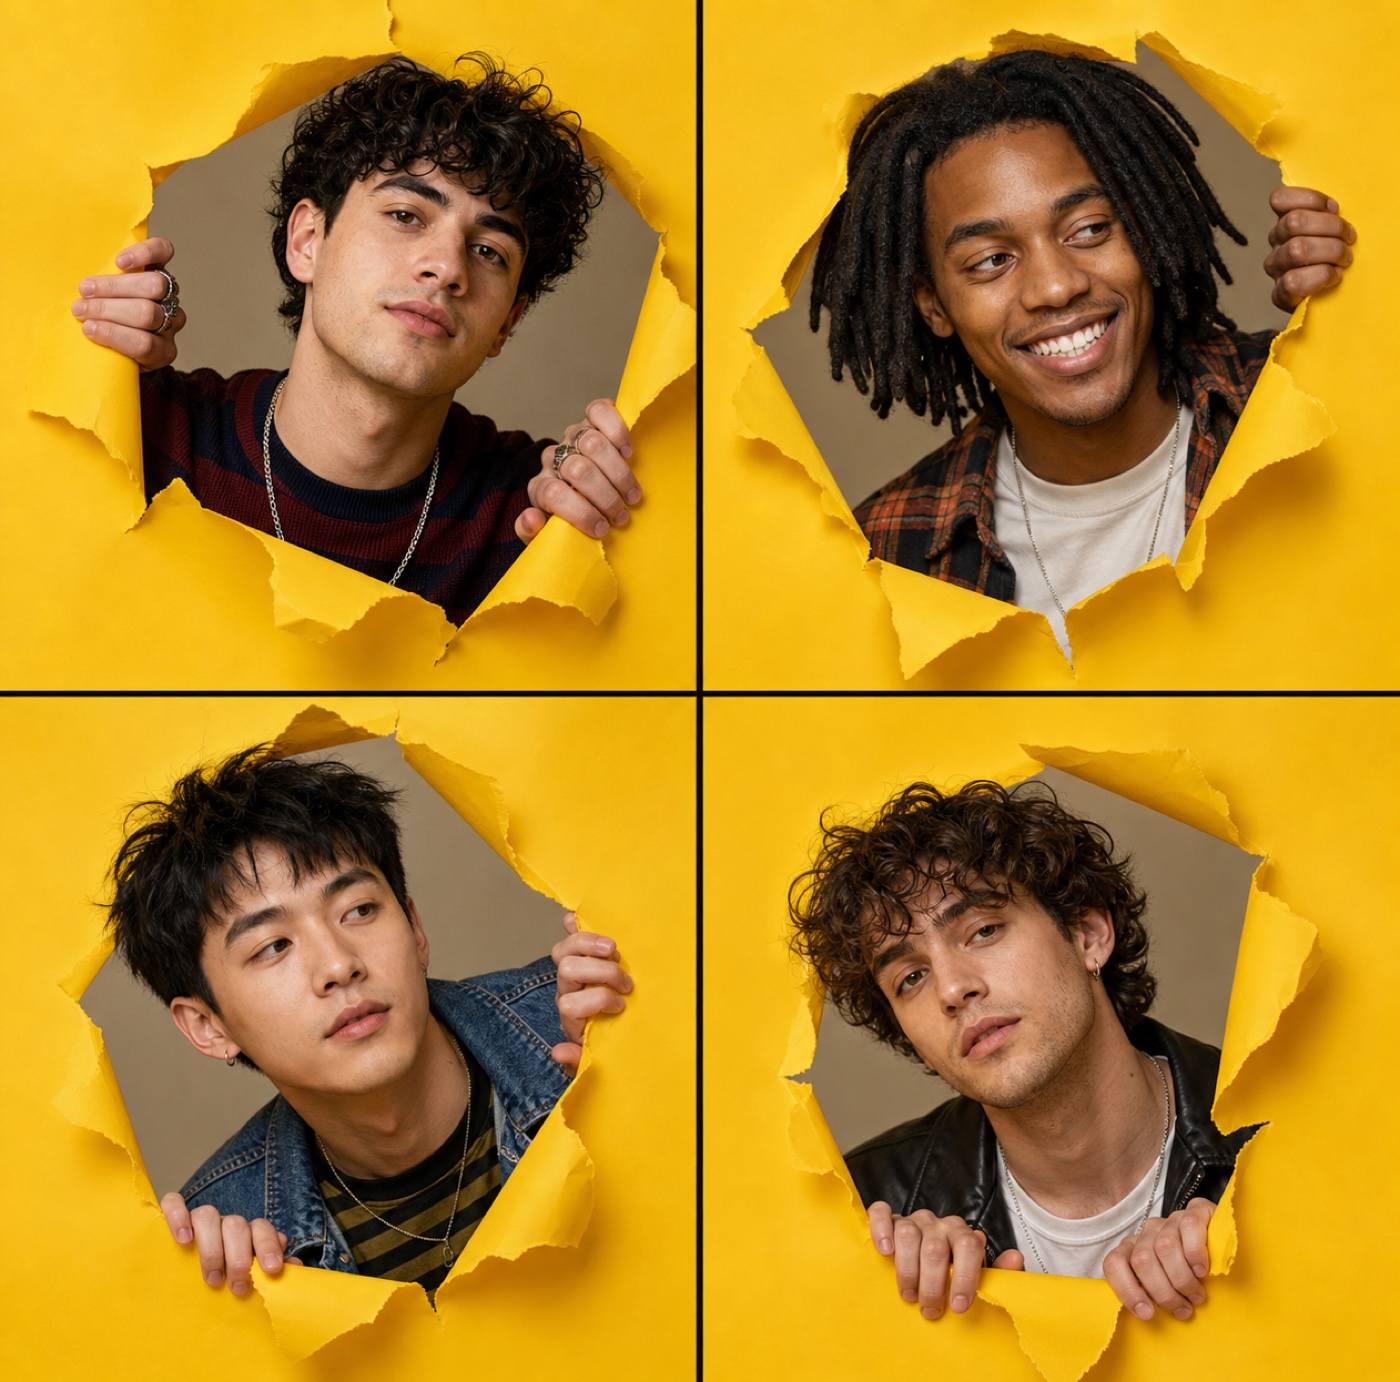
Four portraits sit inside torn-paper openings. Choose this style when you want the paper and color to be part of the image. The larger panels leave more room for each face than a denser grid, but check the final crop at its intended display size.
Use a photo where the whole face is visible. If you later split the result with Instagram Grid Splitter, check that the cut lines follow the generated panel borders; splitting does not add detail to each portrait. Try this style.
How to generate a style
- Open AI Grid Maker and use Choose my photo to select your reference first.
- Choose one style. In the review dialog, check the photo, frame, credit cost, and remaining balance.
- Leave creative direction empty for a first look at the template, or add one specific request such as "brighter studio light". A request guides generation; it does not lock a detail in place.
- Sign in if needed, review the setup, and generate one result. Inspect it before deciding whether another attempt is useful.
If you open a style before selecting a photo, its dialog may show Choose my photo and generate. When you are signed in with enough credits, that button starts generation after you choose the file. Read the displayed cost before selecting the photo.
The full walkthrough, including what to do when something fails, is in How to use AI Grid Maker.
Check the result before you use it
Keep your original open beside the result, then check:
- Identity: does each face still resemble the person in your reference?
- Details: are hands, clothing, logos, and product shapes consistent enough for your intended use?
- Size and crop: can you read the important details at the size you will publish, without cutting them off?
A product concept can help you explore a visual direction. It should not be used as evidence of a product feature the real item does not have. For a record of a person, product, or event, return to the original photos and use a collage.
If the first result misses the mark
First identify what failed: the source photo, the style, or one generated detail. If the source face is obscured, choose a clearer photo. If the palette or layout is wrong for your purpose, choose another style. If a detail changed, another generation may still change it; there is no guarantee of an exact match.
Each new result uses credits, and the same photo and style can produce different outputs. The examples on this page show possible results, not a promise that your photo will look the same. Stop when the image meets the checks above, or use your existing photos if accuracy matters more than generating new variations.